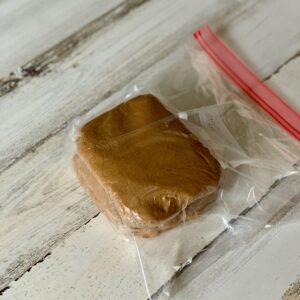
Baking and decorating a gingerbread house is a wonderful holiday tradition! You don’t have to miss out on this fun just because you are gluten free or have food allergies! Start by making the cookie dough in my gingerbread cookie recipe and chill for three hours as directed. I used a double batch to make my house, trees, and people. If your house is quite large or complex, you will need more dough than that.
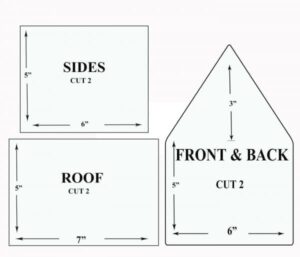
Print out your gingerbread house pattern. For the following pattern, I used standard size computer paper and selected “fit” when I printed it out. (The pieces were smaller than the sizes indicated on the pattern and you can see the actual dimensions later in this post.) I got my simple pattern from this post on gingerbread house patterns. (It is the last one at the bottom of the post.)
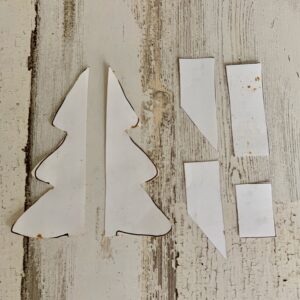
Cut out your pieces along the lines and set aside. I also created tree and chimney patterns for my house. The chimney ended up being too tall for my house but still looked cute once it was decorated! For the trees, I cut one full piece and two half pieces for each tree.
Preheat your oven to 350 degrees.
For your house pieces, roll out one chilled piece of dough to 1/4” thick between two pieces of waxed paper. Several times as you are rolling, gently peel off the top piece of waxed paper then place it back on the dough and flip the dough over. Gently peel off what is now the top piece of waxed paper then place it back on the dough and keep rolling the dough out. (This extra step prevents wrinkles in the waxed paper and in your dough.)
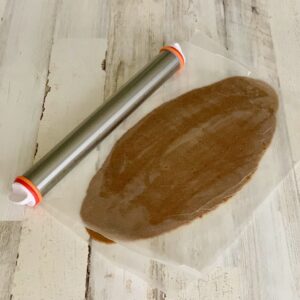
Once the dough is fully rolled out, slide the dough (still sandwiched between the two pieces of waxed paper) onto a cookie sheet and place in the freezer for 20 minutes.
Lay your pattern pieces on top of the dough, then use a sharp paring knife to cut around your pattern. You can use any size pieces that you like, but be sure to only bake ones of the same size together on the same baking sheet. Place each house piece on a parchment-lined baking pan. Re-roll the scraps once as directed above. After rolling, chilling, and cutting two times, save the remaining scraps to combine with those from each additional piece of dough.
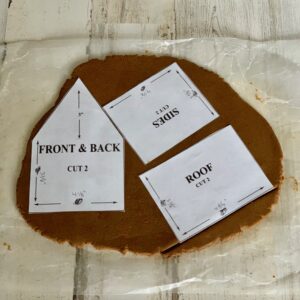
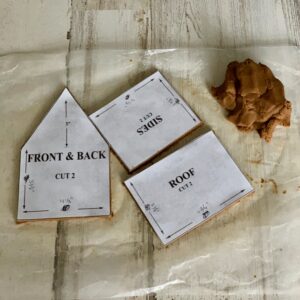
Repeat the above rolling, chilling, and cutting directions with each additional piece of dough. Gather all of the remaining scraps together into a ball, roll out as directed above, chill the rolled out dough, and cut out more pieces. Repeat until all of the dough is used.
*Please note that decorative pieces such as trees, people, chimney, doors, and shutters, etc., do not need to be as thick as the house pieces. I followed the directions for rolling and baking dough for my gingerbread cookies, and rolled the dough for my decorative pieces to 1/8″ thick and baked them at 375 degrees. Baking times will vary depending on the size of your cookies – see the cookie recipe for directions.*
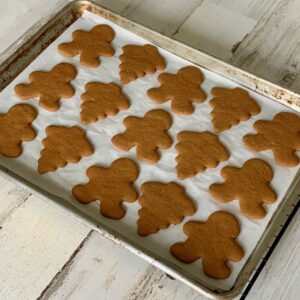
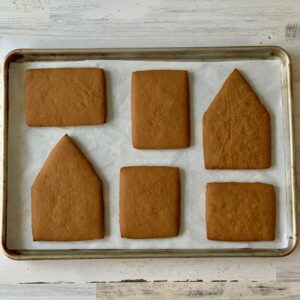
Bake your house pieces at 350 degrees, and bake pieces of the same size together. I baked my house pieces for 20 minutes. Really large pieces (more than seven or eight inches tall) might need a bit longer. Let your house pieces cool fully on the pan before decorating them.
I made vegan royal icing from Cooking on Caffeine’s recipe, except that I used 120 g (1/2 cup) aquafaba and 1.5 lbs (5 2/3 cups) powdered sugar. I divided the icing in half and added another 1/2 cup of powdered sugar to half of the icing to make it thicker. I transferred both versions to quart-sized ziplock bags, squeezed the air out of them, and sealed both bags. I used the thicker icing for glueing my house pieces together, for attaching candy, and for the snow on the roof and chimney. I used the thinner icing for all the detailed piping and for the snow on the ground.
Pipe thick lines of royal icing for glue to assemble your house. I used cans of beans to hold the bottom of my house together while the icing dried. It took about eight hours before the icing was hard enough to add the roof pieces.
I also decorated my gingerbread people and small trees, assembled my chimney, and began assembling my larger trees by glueing one of the half pieces perpendicularly to each of the full tree pieces.
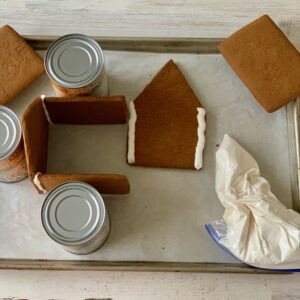
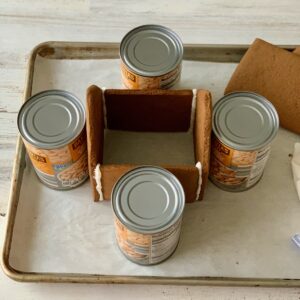
I filled paper cups with rice to help hold up my roof pieces while the icing dried. These worked really well for my size house. Find something that is the right height for your house if it is a different size. Be sure to allow the icing to dry completely (at least 8 hours) before moving to the next step! Finish assembling any decorative pieces now as well (I glued the second half piece to each of my large trees.)
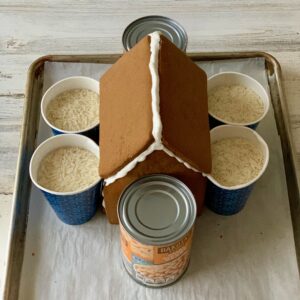
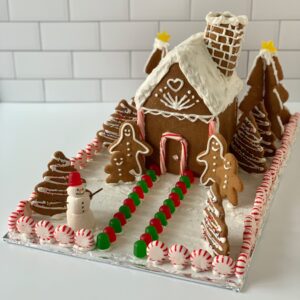
Cover a large piece of heavy cardboard with foil to use as the base for your gingerbread house. Add icing snow on the ground if desired. Then, pipe the thicker royal icing on the bottom edges of your house and glue it to your board. Once my house was in place, I dusted the snow on the ground with sugar to make it glisten. Then, I glued on the chimney with the thicker icing. Next, I piped designs onto my house with the thinner icing. Finally, I glued my decorative pieces to the board. (I recommend decorating your house before you add your decorative pieces to your board as it’s easier to reach all of your house when nothing else is in the way.)
Here is our finished gingerbread house. It isn’t perfect but it has a lot of character, and we had so much fun making it!





Leave a Reply
Your email is safe with us.